 I have a new-found respect for any wire wrapping jewelry maker. I see this stuff everywhere and think to myself that it can’t be that hard to make. It’s hard! If you make this stuff on a regular basis… wow. Thank you for your dedication. Wire-wrapped jewelry is beautiful and that is why I decided to try to make wire wrapped earrings. I picked a standard beginner design and got to work. I think they turned out well and I like them a lot. Hopefully you will give it a chance and try it too.
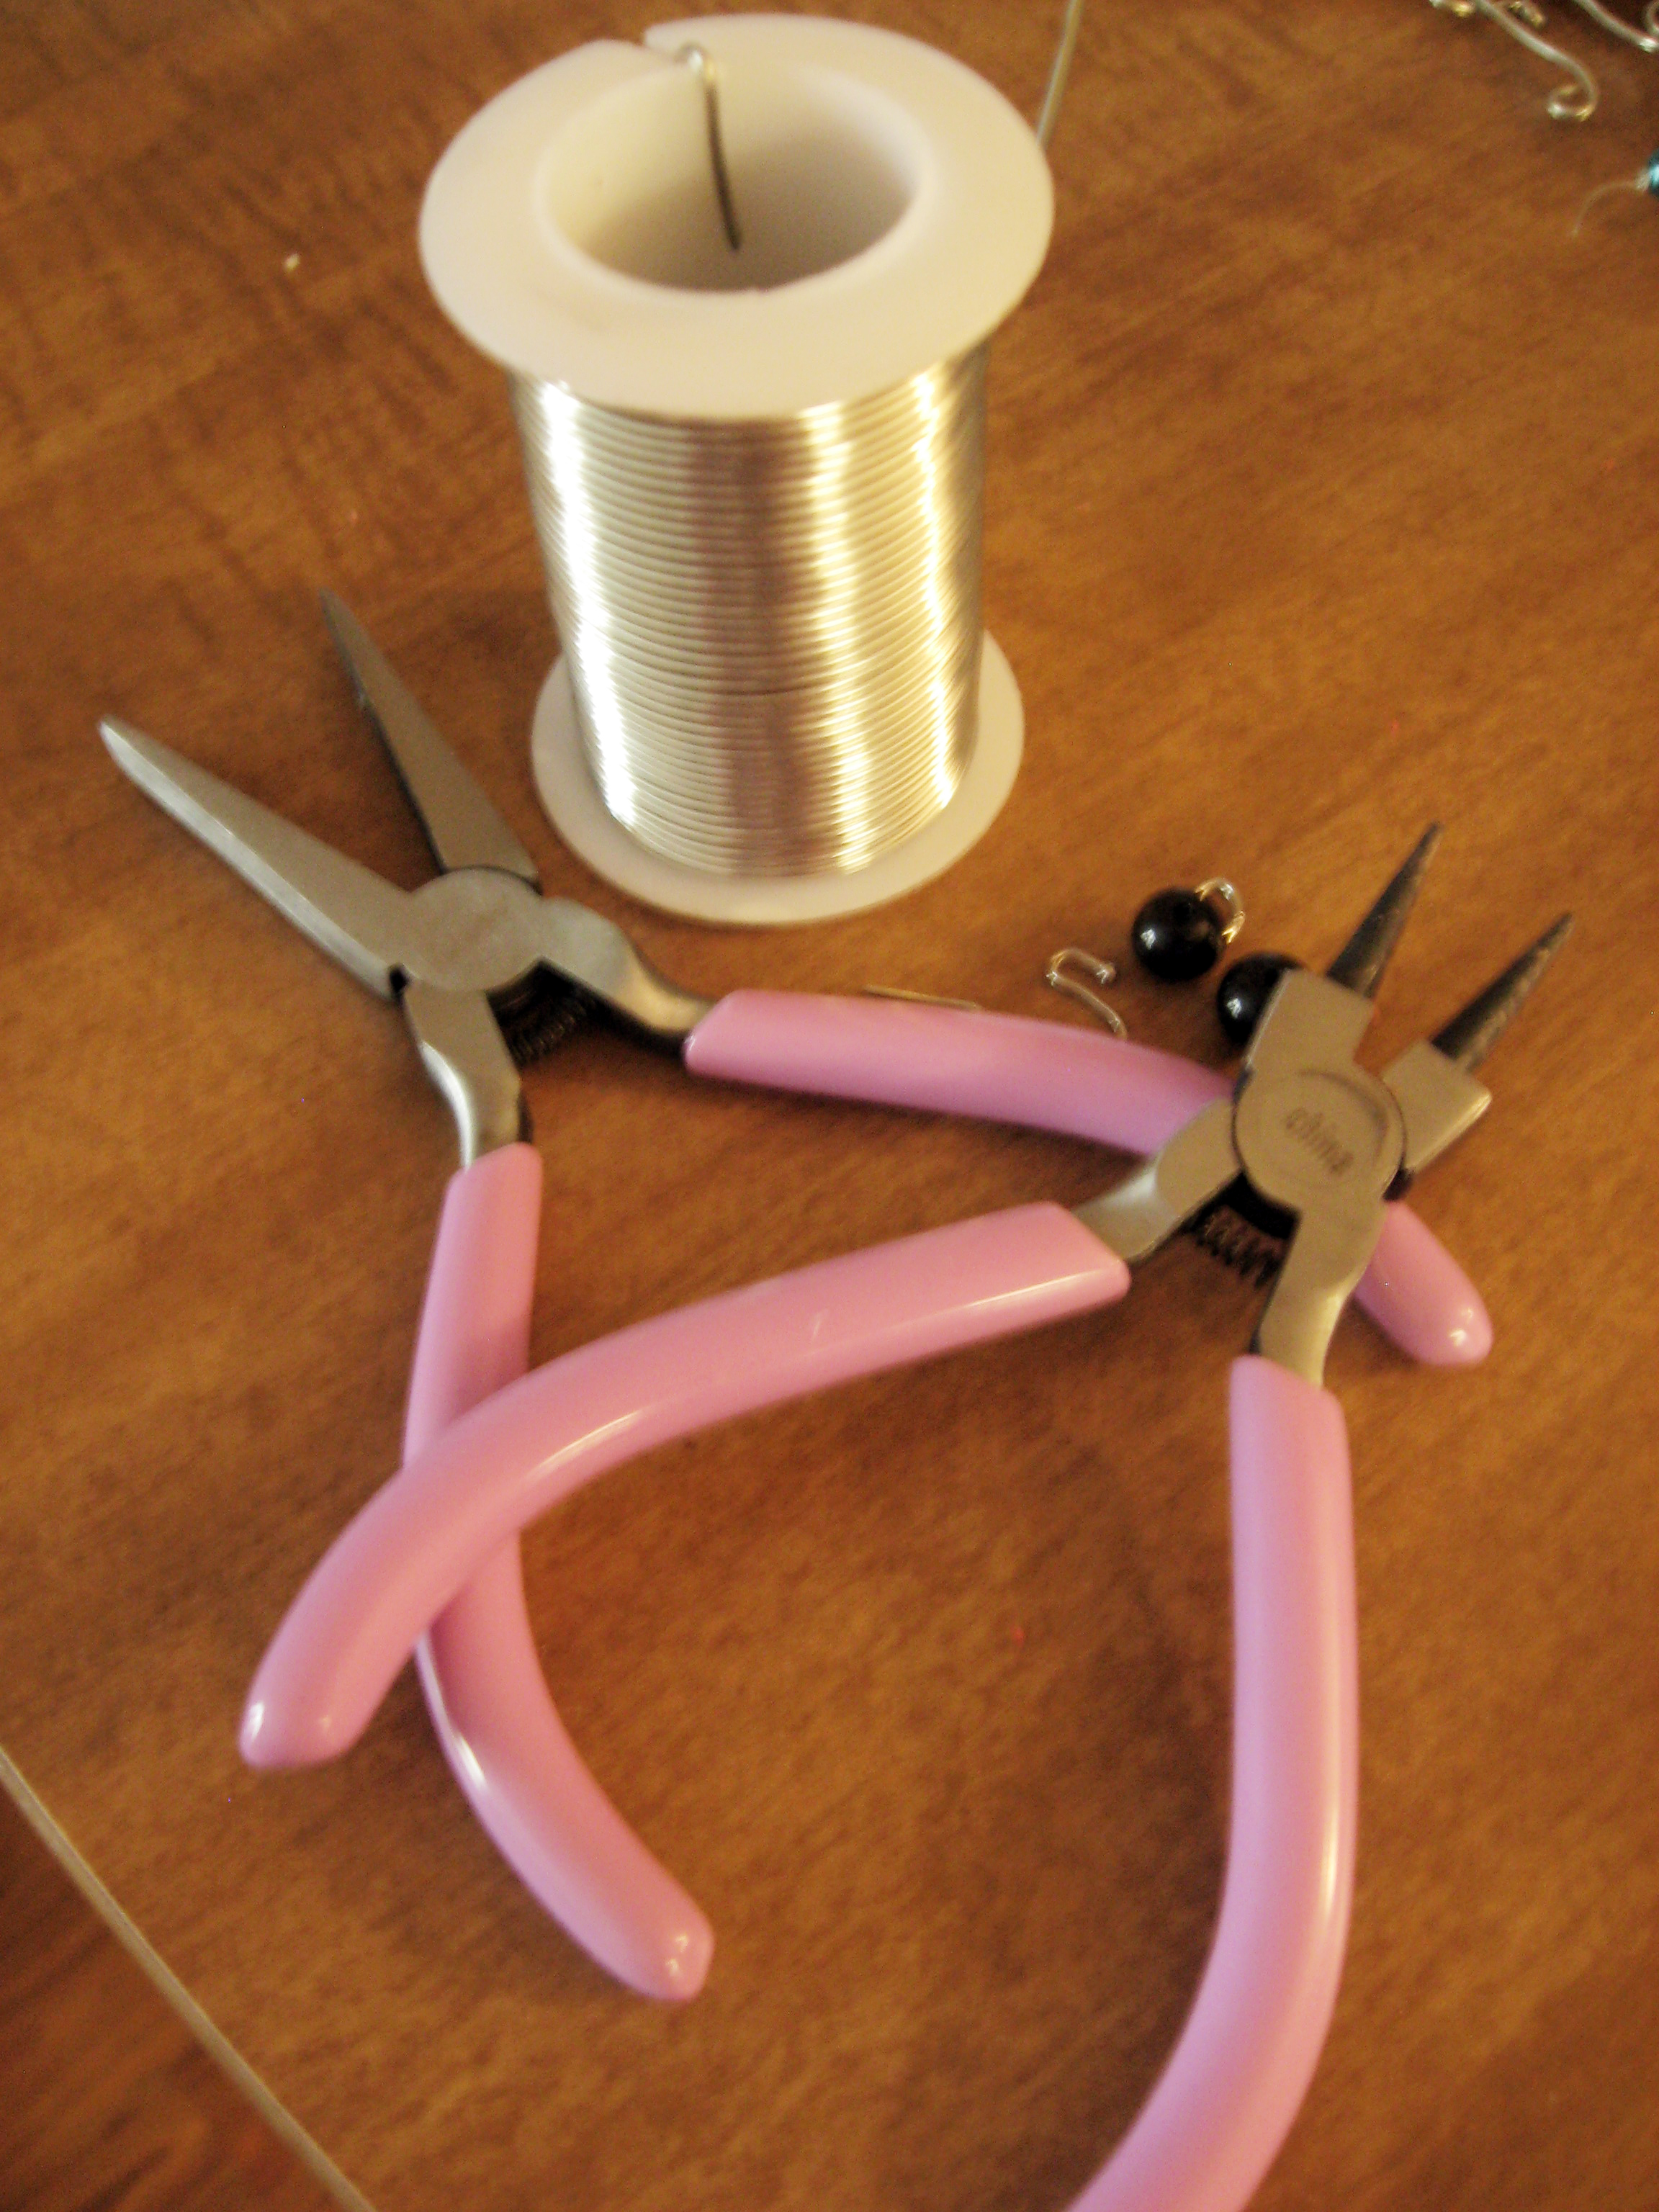
Things You Will Need:
Beads
Earring accessories
Flat-nosed pliers
Round-nosed pliers
16 Gauged wire
 Step 1:
Cut off a piece of wire about the length of the width of your hand (fingers spread apart comfortably). Put the bead of your choice in the middle of the wire.
 Step 2:
Using your round-nosed pliers, bend the wire in opposite directions on each side of the bead.
 Step 3:
Use the flat-nosed pliers to wrap the wire around the bead. This is the hard part. I recommend wrapping one side of the wire at a time. Stop wrapping when you have something that looks like this. You want some wire left at the end.
 Step 4:
Wrap one side into a loop with your round-nosed pliers. Leave a little bit of space to add in the earring accessories.
 Step 5:
Make a similar look with the bottom wire. You don’t have to leave any space with this one.
 Step 6:
Add your earring accessories and close the space you left in step 4.
Do you see the cuts on my fingers? That is from trying to wrap the wire with my fingers when I have tools to do it for me. I’ve learned my lesson!
 Th earrings fall about an inch below the ears. I think this design is simple and lovely. These wire wrapped earrings are a perfect representation of less is more. I hope you like them! Send pictures if you decide to make them and let me know how it goes!
Happy crafting!

Those are pretty. Look nice on you!
Sent from my iPhone
Thanks 🙂
Beautiful!!!
Thank you!
so nice, Thank you dear Megan, love, nia
Thank you Nia!
ooh these are lovely! I still have boxes of beads and wires from when I used to make jewelry – you’ve inspired me to look them out and play again! (And yes, I know the sore fingers/broken nails/note to self:use pliers thing all too well!!) 🙂
Aww that is great! I hope you do make something! Please send pictures! I would love to see it.
Beautiful …. I wish I could wear earrings like this … need clip on.
I’m sure you could make clip on earrings without a problem! Just use light-weight beads and you are good to go!
I always wanted a pair of long earrings .. but my neck is a bit short … I would love to have a swan neck .. so I could have those long beautiful earrings.
long earrings are beautiful… but look at the bright side, since you can’t wear long earrings, your ears will never droop!
I know … but only for an evening .. but it’s what it’s.
In the old days they had a hook around the ears to be able to wear the heavy long earrings, smart idea.
Oh that is interesting! I never knew that!
Marie Antoinette – one of the first and still some of the Hollywood beauties have the support too when the diamonds are too heavy, of clear plastic today, they where in metal before.
Wow, that is crazy! Thanks for sharing! I would’ve never guess that.
These are lovely Megan. Wire wrapping is hard but you seem to have got the hang of it:-)
Thank you very much! It is very difficult. Kudos to anyone who can do it from my end!
Pingback: DIY Heart-Shaped Wire Earrings | Make Something Mondays!
Thankyou
Hi ! to make these earrings, you don’t need a 16 gauge wire. It’s too hard to work with. You can use a 20 or 21 gauge wire. Morever, since you have a small loop at the bottom, it would look pretty to add a wrapped briolette. One last thing, you don’t need to add a jump ring at the top since you can put the ear wire in the loop you created.
These earrings are very pretty.
Thanks, Anne! The thinner wire seemed to flimsy at the time, but I’ve since worked with different thicknesses and agree that 20 is way more workable. I’ll def try adding to the bottom on the next pair. Great idea!