
If you follow me regularly, you know that I have a small obsession with glitter. It’s one of my favorite craft supplies but I try to talk myself out of using it on everything because I’m aware that many people don’t share my problem. This week, though, I was looking forward to making these glitter magnets. They’re a fun way to spice up your fridge. They’re functional, too, which makes them twice as wonderful.
They take about 15-20 minutes to make and cost $5. Actually, you could buy all of the supplies except Mod Podge at the Dollar Store, so maybe $2?

DIY Glitter Clothespin Magnet Materials
Glitter
Magnet
Scissors
Clothespins
Mod Podge
Paint brush
Hot Melt glue and gun (not pictured above)

Step 1
Cover one side of your clothespin with Mod Podge.
Move quickly onto step 2.

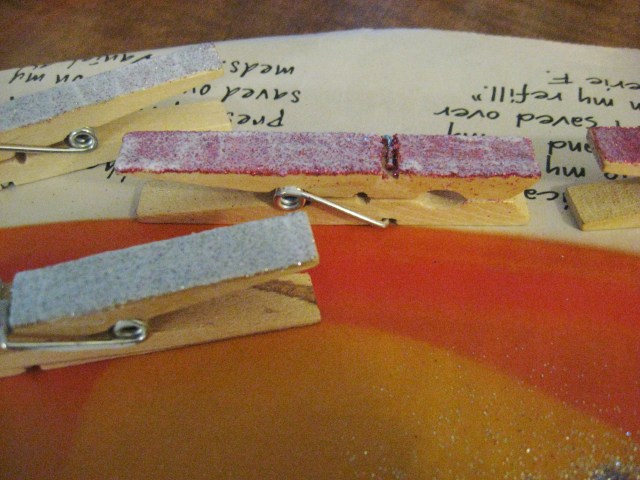
Step 2
Before your glue dries, cover it with glitter. Make sure to get the corners and edges. They’re easy to miss.
Tap the clothespin on the surface to remove any excess glitter.
Let the glue dry.
Step 3
Add a thick layer of Mod Podge over the glitter to seal it so you don’t get glitter all over your kitchen.
Let it dry.

Step 4
Hot glue the magnets onto the back side of the clothespin.
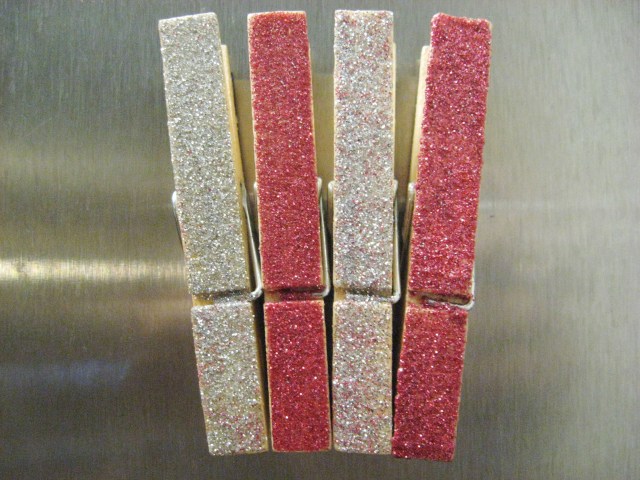
Stick those beauties to the fridge! Get your business cards, reminders, pictures and anything else that’s important out in the open so you don’t forget about them. Not everything has to be digital, right?
I hope you liked my clothespin magnets and you try making a set of your own. They might even make a cute (and affordable) Christmas gift.

Cute. I loved your beer bottle cap magnets too.
I’m working on some more of those for the brewery this week. 🙂 thank you!
These would be super easy to swap out for different seasons! Red, green, white for Christmas. Silver and Blue for new years. Pink and Red for Valentine’s. The possibilities are endless!
Great idea, Emily! That would be really fun too
ALWAYS unique and useful posts from you…
Thank you Arlen! You know I very much enjoy your blog as well 😄 hope you are doing well.
Thank you too! I am so glad to receive your kind answer! 🙂