 Do kids still make friendship bracelets? I feel really old saying that, but I used to make these knotted bracelets all the time. I would say a good 3 years of my pre-teens to early teens were taken up with this activity. I made them for my friends and even for classmates that would offer me $5-$10. They take a while to make, and people always wanted them, so they were willing to pay the money. This was probably my first entrepreneurial experience. The earlier, the better, right? After a few days of making them, I got pretty fast.
This bracelet took me about 2.5 hours to make, whereas in my teens, it would’ve taken me a little over an hour.
I will say that you are going to need a lot of patience if you want to give it a shot. The bracelets aren’t hard to make, but they are time-consuming. If you have a daughter in her early teens, this could be a bonding experience 😉

Things You Will Need:
Scissors
Safety pin
Embroidery thread
 Step 1:
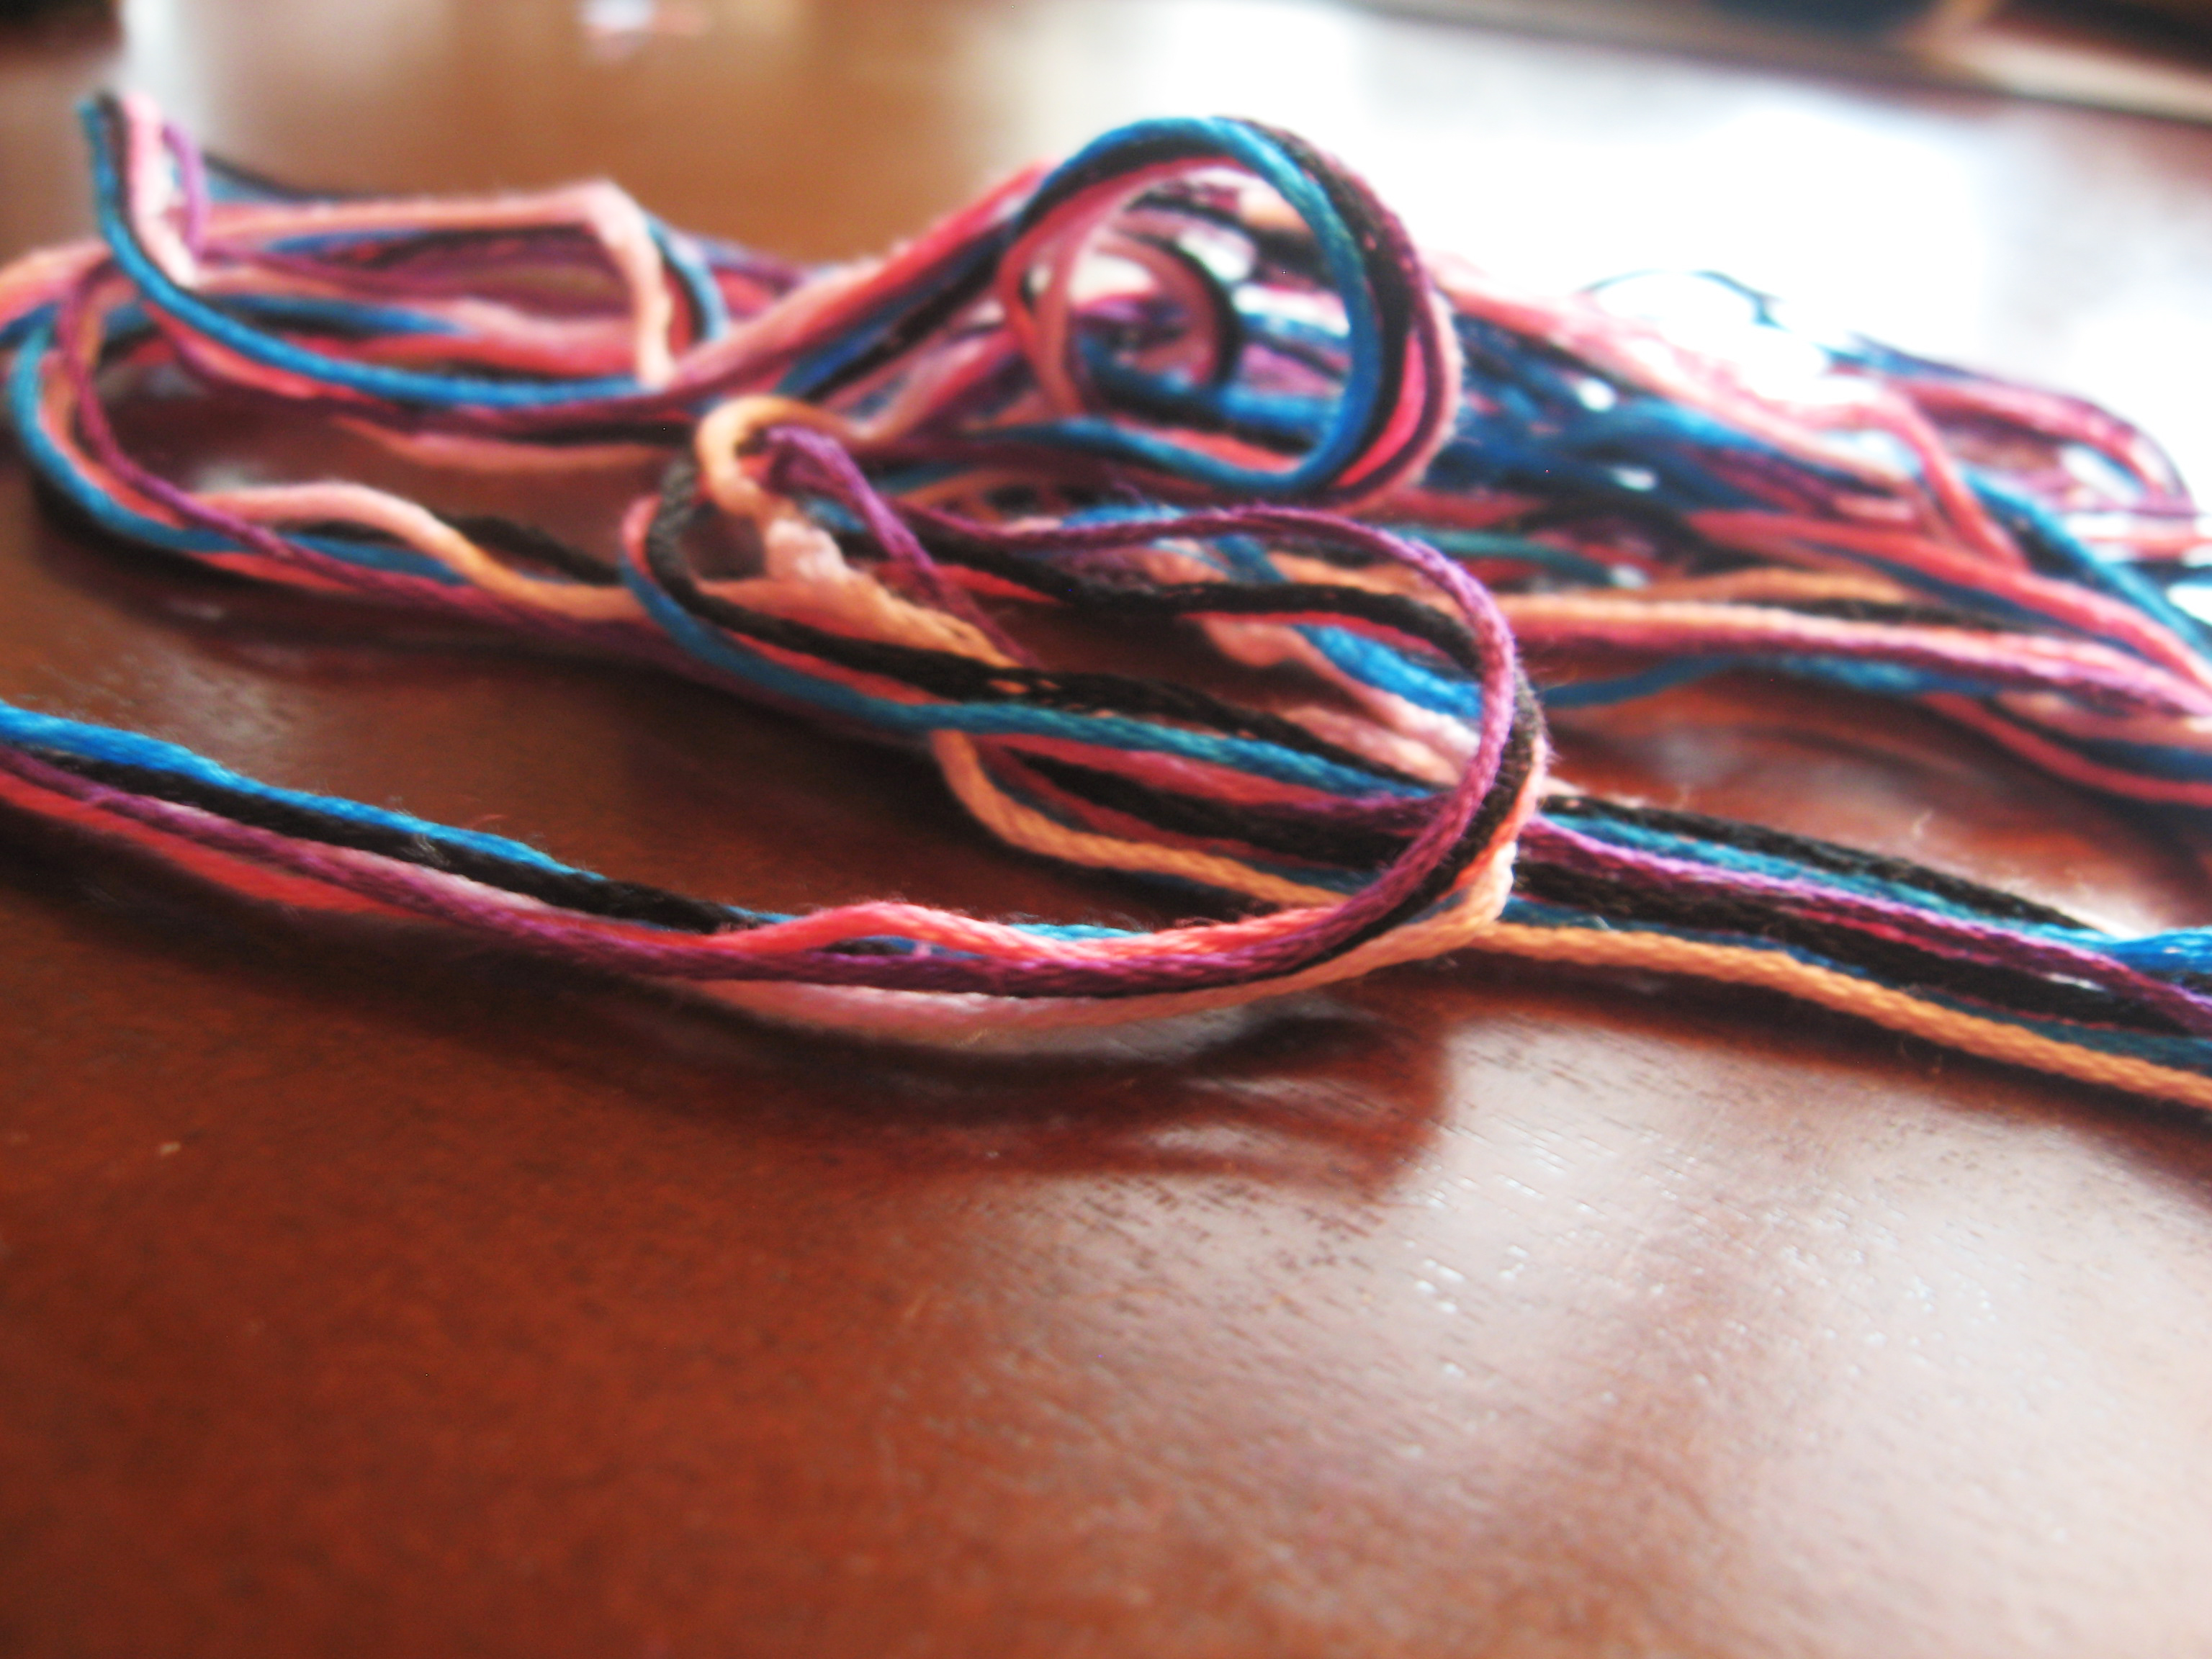
Pick out a few colors you like (at least 3). Then stretch them out to arms length. You should be able to hold the end of the thread in one hand, hold your arms our to each side of your body, and be holding the other end in your other hand. It is going to long.

Step 2:
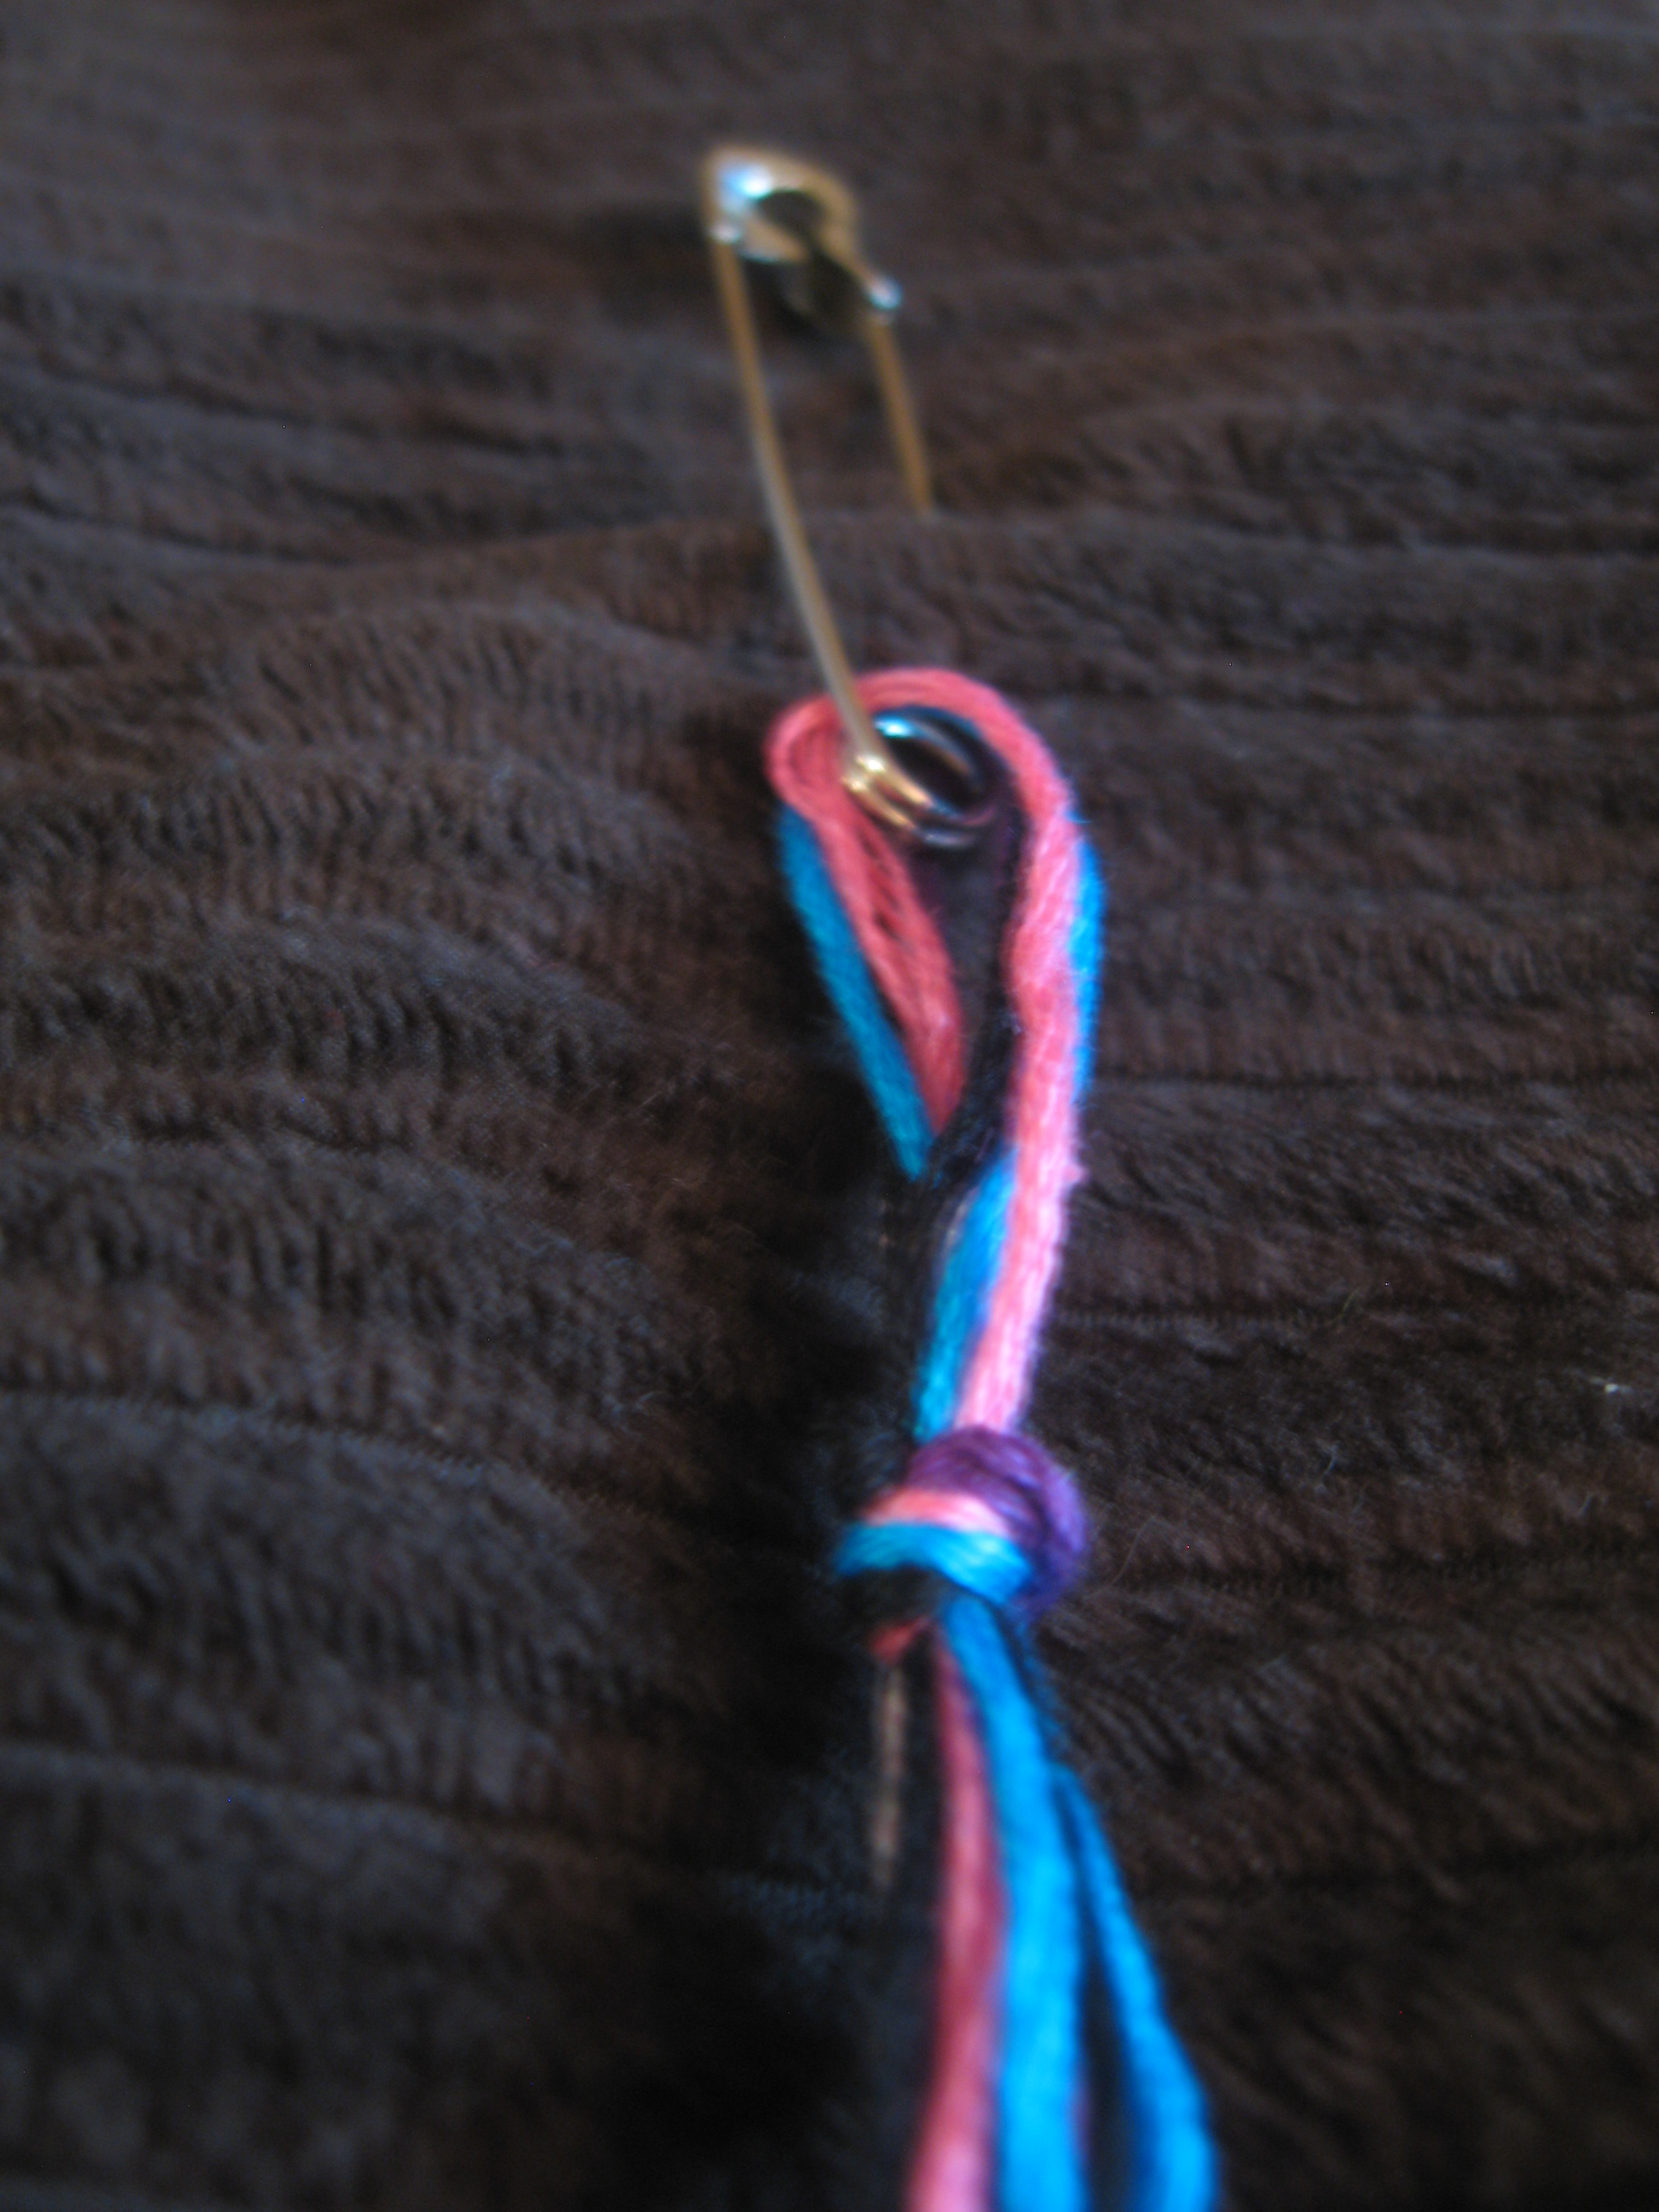
Fold the thread in half (so that there is a loop at the top) and knot it, like in the image above.
Step 3:
Use the safety pin to fasten the thread to a pillow to keep it still while you work. If you are a teenager and are planning to do this, don’t attach the thread to the couch. My mom yelled at me for that, a lot. Just use the pillow and save yourself the hassle.

Step 4:
Spread out the colors in the order you want them for the bracelet. Keep them in this order throughout the whole activity.

Step 5:
Take your first piece of thread (my dark pink thread) and loop it around the second piece of thread (my light pink thread). Pull that first thread tightly around the second thread and move it up to the top near the loop. Do this one more time on the same thread.

Step 6:
You are going to do exactly the same thing the whole way across each thread using the dark pink one thread (the one I started out with). So, move the light pink thread aside (my second thread), and knot the first thread (my dark pink thread) around the third thread (my purple thread). repeat this process the whole way across. That will be your first row.
I know it sounds painful, but the results are awesome. You will be proud of yourself when you are done 🙂

Here, I have used each color once. It is started to look like a bracelet!

Isn’t that exciting! I wonder how many knots it took to make this… hmmm.
Step 7:
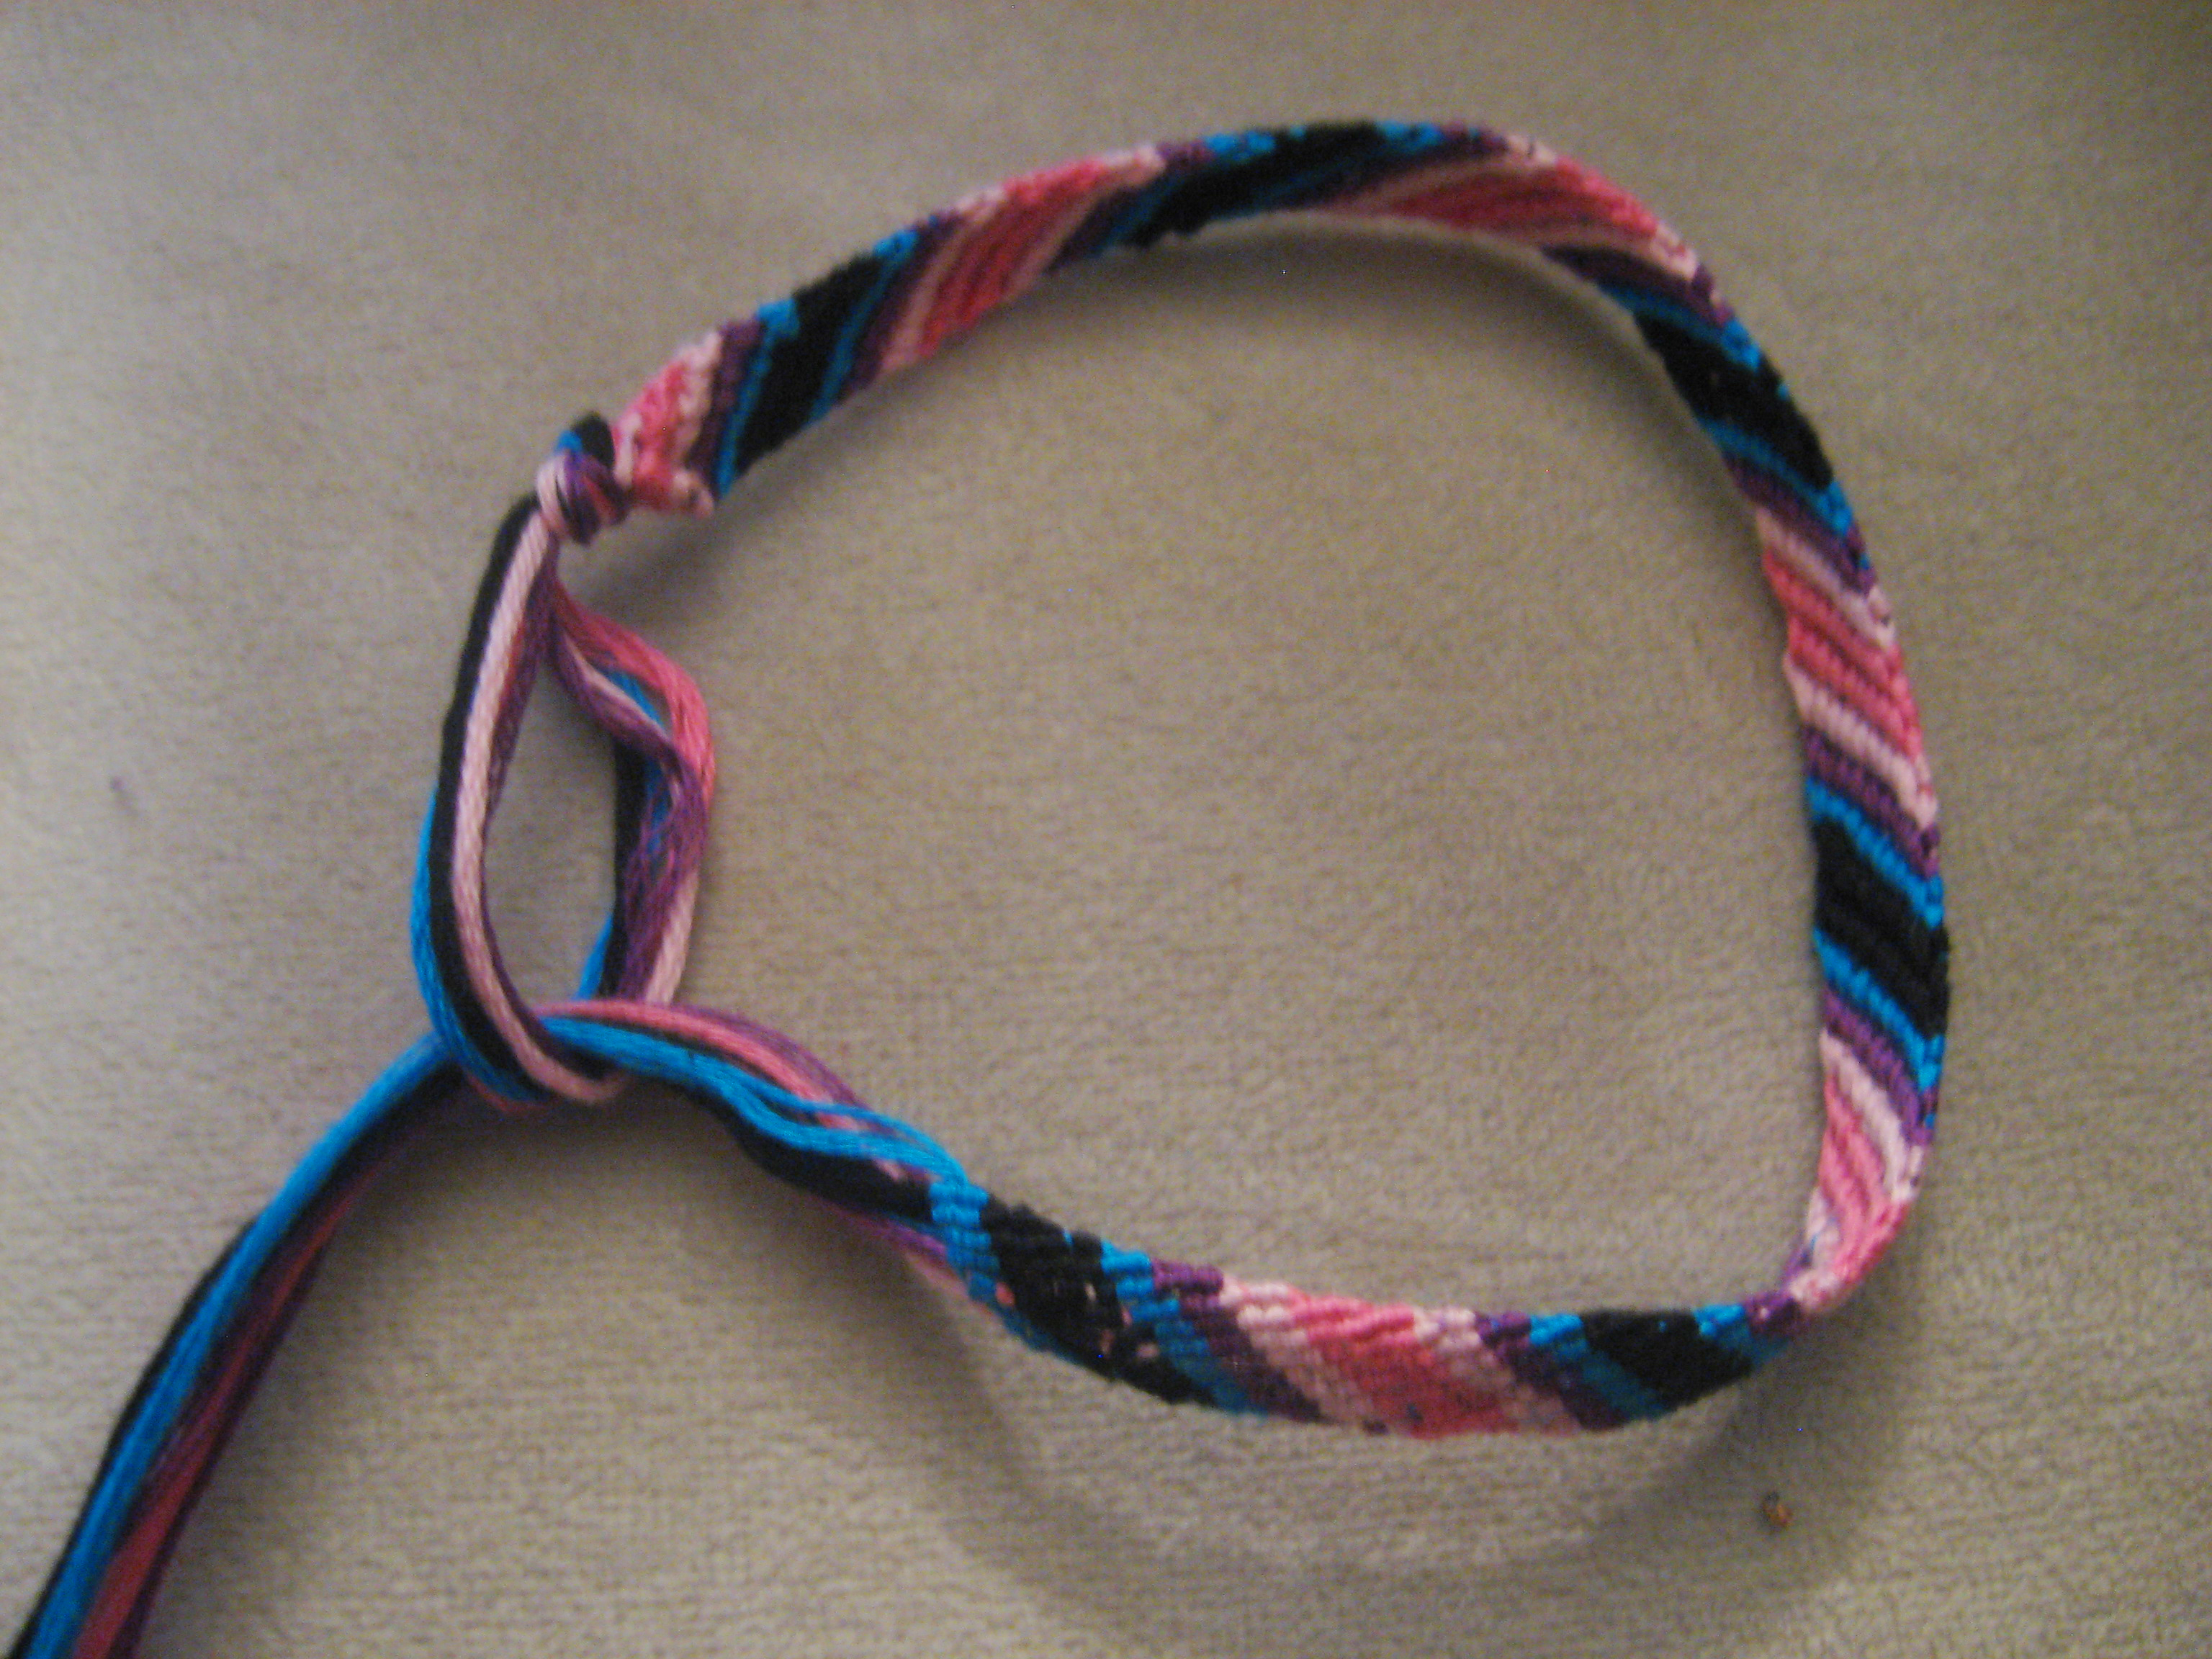
When your bracelet is long enough, unfasten the bracelet from the pillow. Slide the excess thread through the loop and knot it twice. Three times if you are extra cautious.
Voilà! Now you have a friendship bracelet.
Did you know that when you knot the bracelet around your wrist, you are supposed to make a wish? When it finally does fall off (probably close to a year later), your wish is supposed to come true. It is probably a load of crap. Regardless, it is a nice thought. 🙂
On that note, happy crafting!

Wonderful job …. but I wouldn’t have the patience for this and my big fingers would be in the way. We had something similar when I was a young teen.
I understand completely. I wonder how I ever had the patience for it when I was a kid. Just making for my Make Something Mondays was rough.
I just wonder if kids still make these today. They are probably too caught up in their mobile devices to care about making bracelets.
I’m a kid, around 14 in fact. And I still make these bracelets. I think they are a lot of fun and much healthier than staring at my phone!