
Succulents are the cutest plants ever! I especially enjoy them because they don’t need a deep root system. They can grow in the most unique of containers. For example, I used these old beer cans to make my own DIY succulent planters and I love them!
If you’re not a beer fan, you can make this upcycling project with soda cans, coconut water cans, or whatever can you have piling up in your recycle bin.
You only need a few supplies to make a Succulent Planter and I’ll bet you already have most of them. Grab the supply list below and let’s get started!

Succulent Planter Supplies
- Succulents
- Beer cans
- Can opener
- X-acto knife (optional)
- Potting soil / succulent soil
- Sand or pebbles for drainage
My content contains affiliate links to products I use and love. If you take action (purchase, subscribe) after clicking the links, I get some crafting money which helps me continue to write awesome tutorials for you! This costs you nothing but enables you to support my work.
NOTE: In my beer cans I used sand and potting soil. I really should have used pebbles and succulent soil, so I linked to those above. I was just being lazy because when I ordered supplies they didn’t have what I wanted.
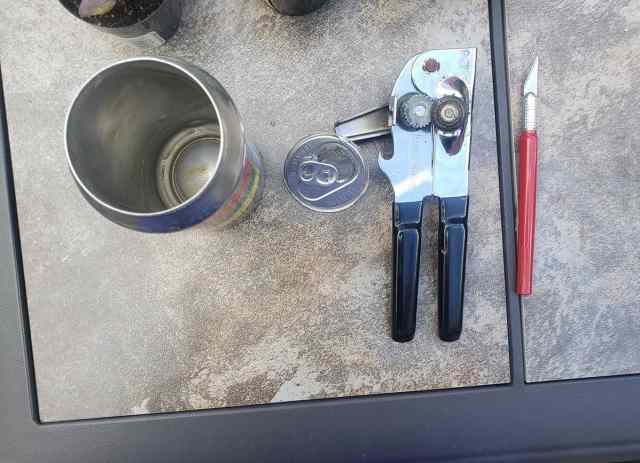
Step 1: Remove the beer can lid
Using your old-fashioned can opener, trim around the top of the can and remove the lid. Be careful though! If your can opener isn’t aligned perfectly, it might rip apart the side of the can. I did this on my first try, so go slow.
Don’t worry if you can’t get it the first time. These things can be difficult. Try going back and forth over the hard spots. If all else fails, very carefully use the X-acto knife to cut the remaining pieces. This aluminum is thin and sharp so be aware of your pressure and depth.
You might also want to consider drainage holes. I didn’t add them because my can curves up significantly on the bottom so most of the water will fall into a moat, so to speak. If yours is not like that, I highly recommend adding a few nail holes to the bottom of the can.

Step 2: add the pebbles and soil
First, add about 2 inches of pebbles to your beer can. These are important for 2 reasons: drainage and weight (you don’t want your can to tip over.
Second, fill the rest of your can with soil.

Step 3: pot your succulent
Make a small hole in the soil for your succulent and plant it!
Depending on how dry your soil is, you might want to water it now as well.

How cute are these!? I absolutely love them.
If you have a beer and plant lover in your life, these DIY succulent planters would be a great gift idea! Or you could have a craft night. That’s always fun.
I’d love to get your thoughts so leave them in the comments!
Happy crafting!

🍺 Good idea after my recycling center closed 😉
Oh no, thats no good. You’ll have succulents galore!
I know 😉 as many 🍺’s that I suck 😵
Haha, I just meant if you save all your aluminum cans over time, that will be a lot of succulents.
I know 🙂 I have a lot of empties and will need a lot of Succulent cutting starters 🌿
😁 good luck with your starters!
Pingback: Upcycling Projects for Everyday Throwaways | Make Something Mondays
Pingback: DIY Adults Crafts - Make Something Mondays
Pingback: 5 DIY Planters For Your Lake House
Pingback: The Ultimate Summer Drinks for a Vibrant Happy Hour - Canuck Kitchen
Pingback: 25 DIY Succulent Planter Ideas for Indoor and Outdoor