
Happy Monday! For today’s craft project I’m going to show you how to make a Happy Planner folder insert. It’s the beginning of the year and it seems like everyone, including myself, is trying to get organized.
I cannot remember my life before planners. I used them all through high school, college and now in my professional life. Apps are fine, but my planner really does keep me on schedule. I’ve used many different kinds, even bullet journals. But this year I decided to try the Happy Planner. Why? Honestly, because I had coupons at Michael’s and I’ve heard so much about this darn thing that I couldn’t pass it up. Plus, it’s a bonus if I can get craft and planner supplies in the same store.
The big problem I had with this planner is that there’s nowhere to store papers, business cards, notes to myself, etc. That’s not going to work for me. With that in mind, I set out to create my own folder inserts. I know many of you are organizers and planner advocates, too, so I thought you could benefit from my exploration.
By the way, this can be used for other planners, as long as they are disc bound or in a binder of some sort. So don’t run away because you don’t have the same brand.
Let’s get started!

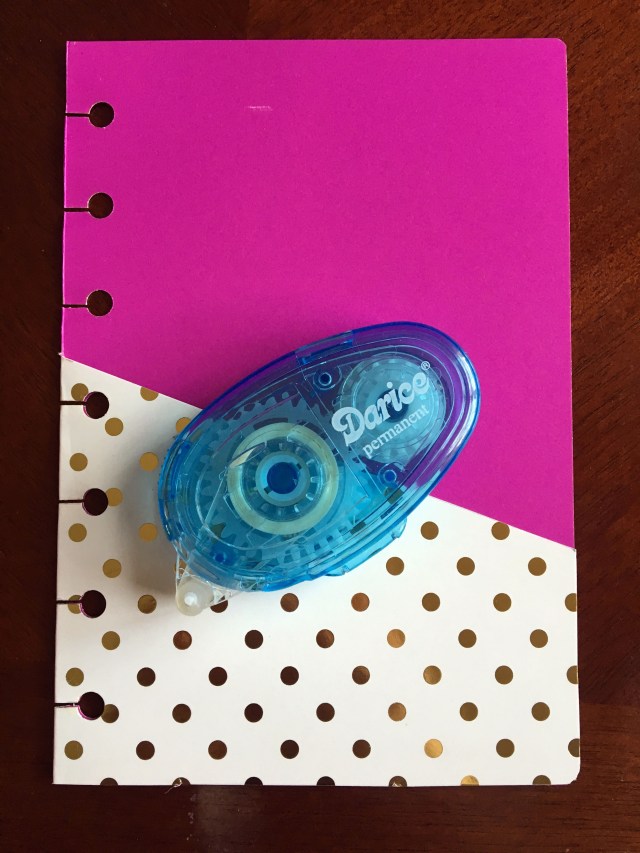
Materials for Happy Planner folder inserts
- pencil
- scissors
- planner
- hole punch
- standard folder
- double-sided tape or glue (which I forgot to put in the picture)

Step 1: trace the planner insert
If you have a Happy Planner, use one of the separators or covers as your template.
If you don’t have the same brand, you can use one of the standard pages as your template.
Line it up along the edge of your folder where it folds over. Don’t forget to trace the holes!

Step 2: cut out your soon-to-be folder insert
Cut along the lines you traced from your template.

Step 3: make it insertable
Using a hole punch, cut holes along the edge where your folder will be inserted into the planner.
I couldn’t find my single hole punch so I just used a 3-ring punch. You can use whatever you have available.
Then cut a small slit from the punched hole through the edge of the fold.

Step 4: test your measurements
Insert the folder to make sure it fits.


Step 5: folder-ize it
Draw a straight, angled line downward from the fold to the right edge of the folder.
Then cut across and up the fold.

When you open it, you should have something that looks like this.
Step 6: glue/tape the edges
This is the last step! Using double-sided tape or glue, adhere the bottom and right edges. Not the folded edge!
Now you can pop it into your planner and fill it with all of the reminders, confirmations, sticky notes and whatever else you need to make you a more productive, organized human.
I think I’m going to make a few of these! One for every month? Maybe that’s too many.
I’d love to hear what you think! Leave your feedback in the comments.
Happy crafting!

I am going to make one similar for safty-box storage of phone #’s and addresses. I don’t trust a solar flare storm not wiping out all the worlds electronically stored data, in which case I would probably want to call someone! 😉
That works too! Very exciting.
Love this so much!
Thanks! It drove me crazy not to be able to carry papers or tickets with me in my planner without fear of losing them. Glad you find it helpful too!
Pingback: DIY Planner Dashboard From A Tissue Box | Make Something Mondays!